Block 2 and 3.
- Fran Alexander

- Mar 20, 2019
- 2 min read
Printing woodblocks always has an element of surprise!
Today we printed block 2, red and block 3, yellow, only 77 to go!!!!
There were as usual lots of surprises. When you are printing a wood block you need to print a run of at least 5 but preferably 10. (So that means 80 woodblocks by 10 sheets a block, that’s a lot of paper).
The reason you need to print 10 is that the block takes a while to become seasoned. So today, the colour in the first print was barely a shadow and the colour in the last print was quite vibrant.

As usual there was a lot of learning to be had.
There is a lot to learn about mixing pigment, ganyro is the type of Japanese pigment that we used, it comes in powder form, so first we ground the pigment in a mortar and pestle with a little water. ( It can be a messy business).
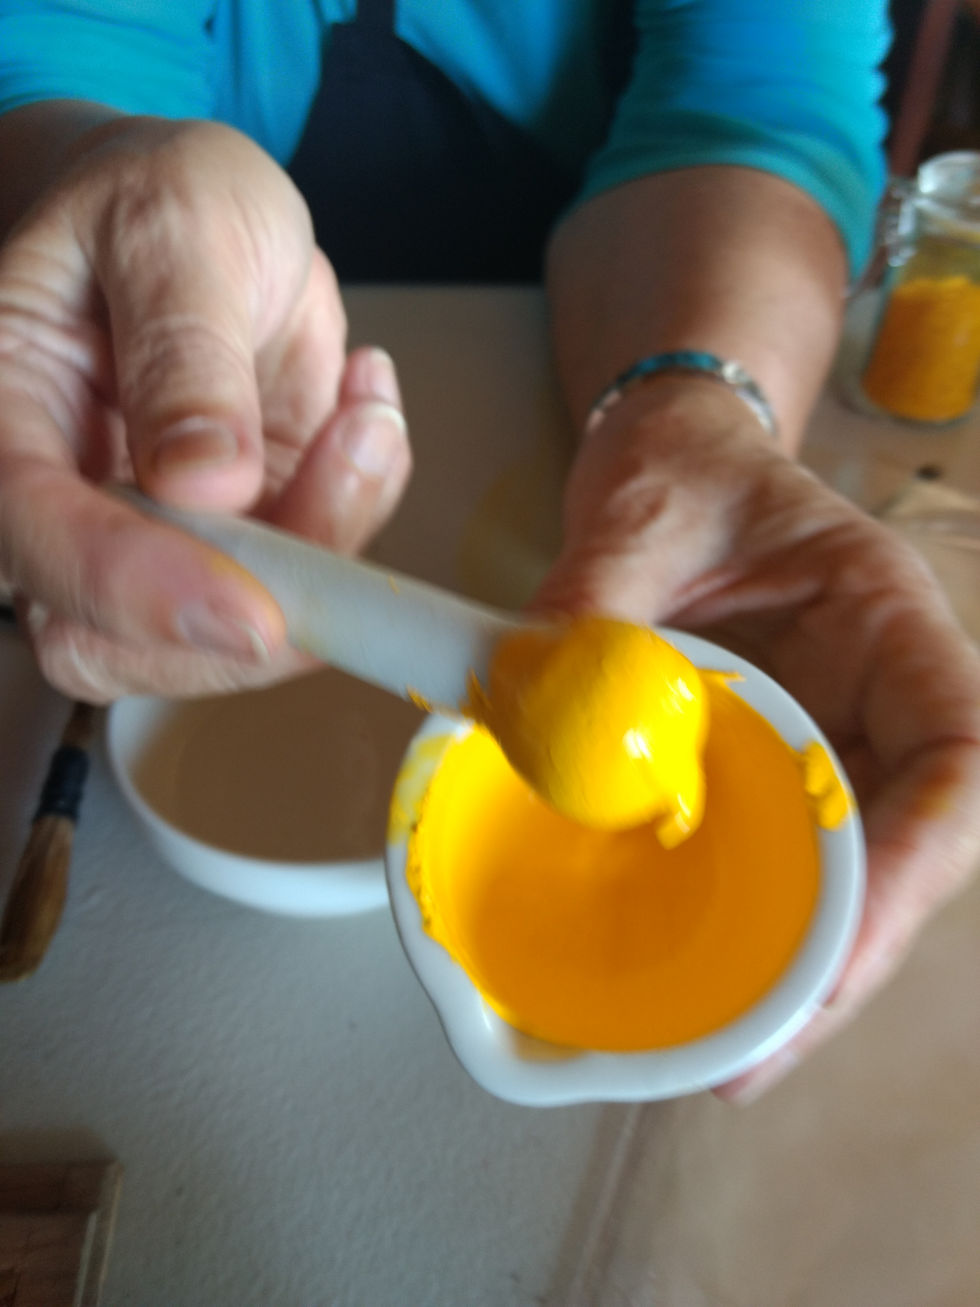

Once we had the pigment ready, we got our carrying brush (made of bamboo, instructions in ingredients) used to transfer the pigment to the wood block and our Hanga Bake brush, used to mix the pigment and paste on the board.
📷

Some of the learning centred around how wet the board was, how much moisture was in the pigment and paste and the type of paper we used.
We found the key to an even print is to make sure your paste and pigment are really worked into the board.
You don’t need a ruler to size paper!
Sizing is a word used in papermaking. It is a type of glaze that affects the absorption of fluid on the paper. It can be put into the mix when making paper or it can be applied to the paper when required.
Sized paper allows the ink or paint to dry on the surface of the paper rather than be absorbed into the paper. Sizing also makes the paper stronger.
Paper sizing can be divided into three main categories
Un-sized – called waterleaf, for example blotting paper
Weak sized or slack sized, for example newsprint
Strong sized for example some fine art papers.
If you want to try sizing paper we have a recipe!
Comments